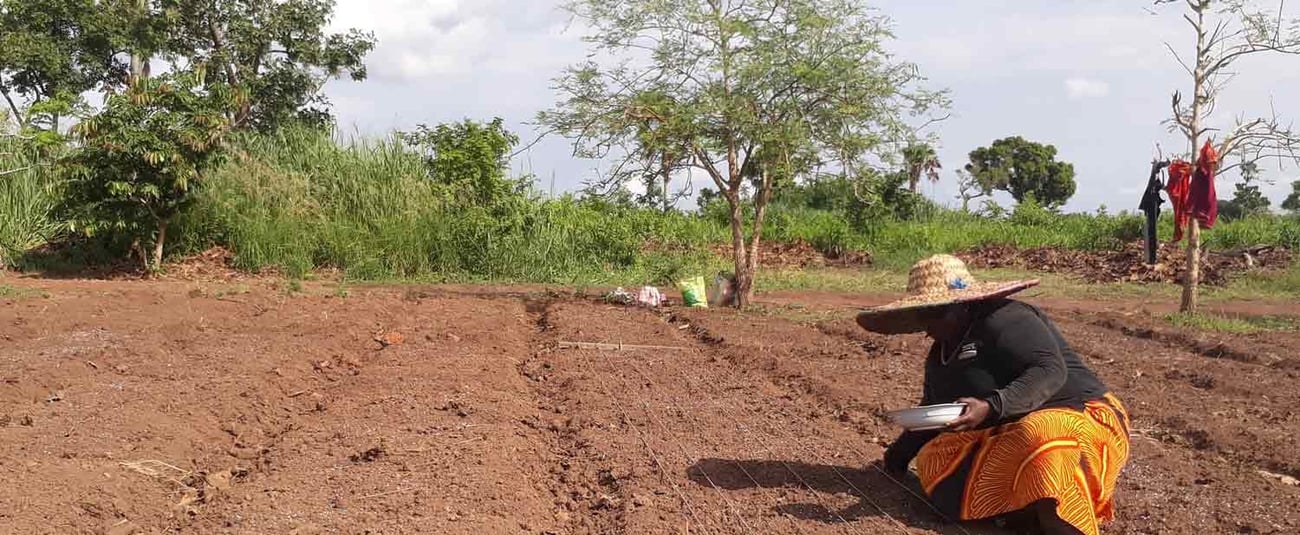
Farming in Nigeria comes with its fair share of challenges. From unpredictable weather patterns to pest infestations, poor soil fertility, and rising costs of inputs, farmers are constantly seeking practical support, not promises. In farming, what matters most isn’t just having access to agricultural products. It’s having a dependable partner who understands the reality on the ground and walks with you through every season.
That is where Saro Agrosciences stands tall — not just as a brand, but as a true friend of the farmer. For years, Saro has built a reputation across farming communities for putting farmers first. Whether you’re planting maize in Benue or spraying your rice field in Kebbi, farmers know they are not alone. When you call, someone answers. When you ask questions, you get real answers. And when you apply Saro products, you see results.
Here are four reasons why farmers across Nigeria are choosing Saro Agrosciences — and why you should too.
1. Real support beyond products
Every farming journey is unique. That’s why Saro doesn’t just sell inputs and walk away. From the first time you reach out to us, you’re treated as a friend. Our agronomic team is active across our social media platforms, responding to questions quickly, no matter how technical or urgent they may be.
We host regular FB Live sessions, Q&As, webinars, and expert takeovers to ensure you’re never left in the dark. Whether it’s advice on choosing the right pre-emergence herbicide or understanding pest behaviour, you’re one message or one click away from answers that work.
We also maintain a growing blog resource centre filled with practical, localised information to help you eliminate guesswork in your operations.
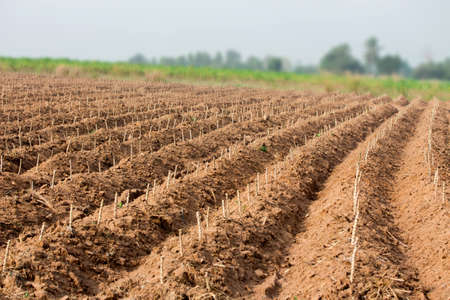
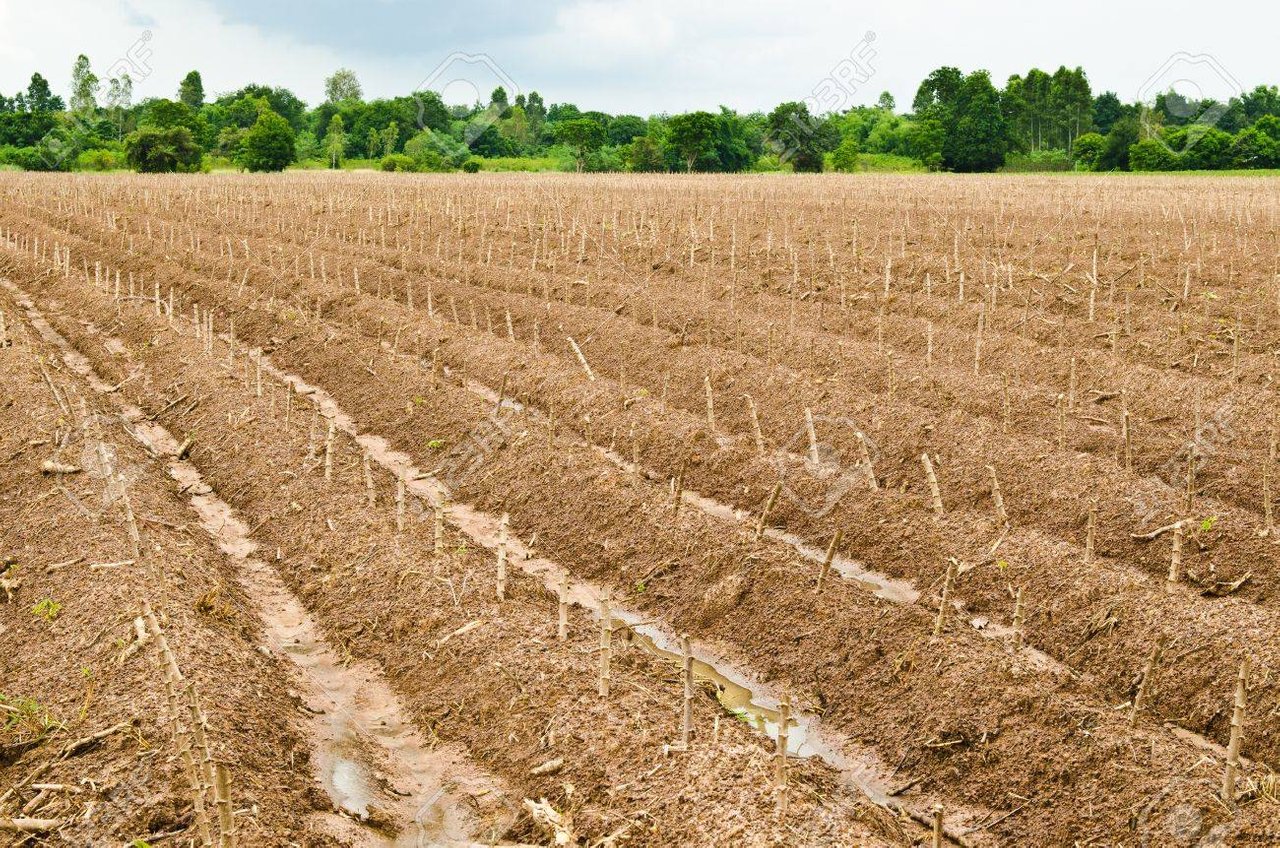
2. Our products are built for Nigerian soil and season
From the North to the South, our agrochemical and seed solutions are formulated with a deep understanding of Nigeria’s diverse climate zones and farming conditions. We’re not rebranding foreign ideas, we’re designing solutions that work here, on your own soil, for your own crops.
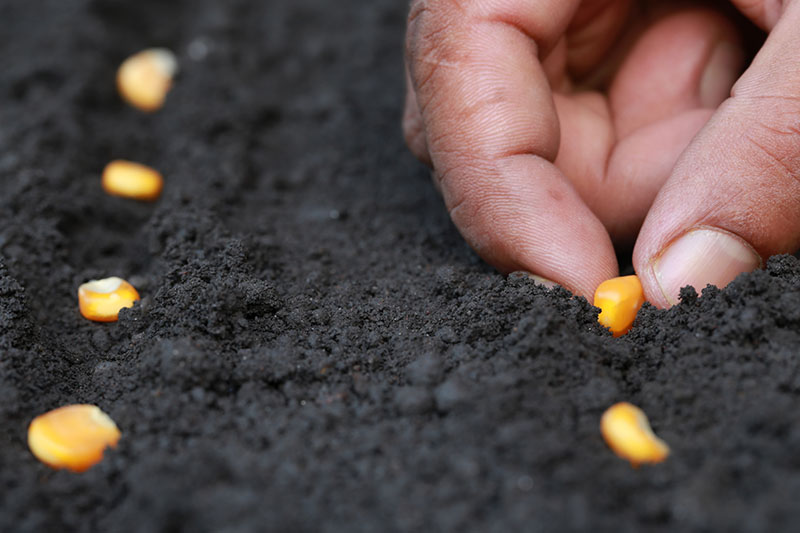
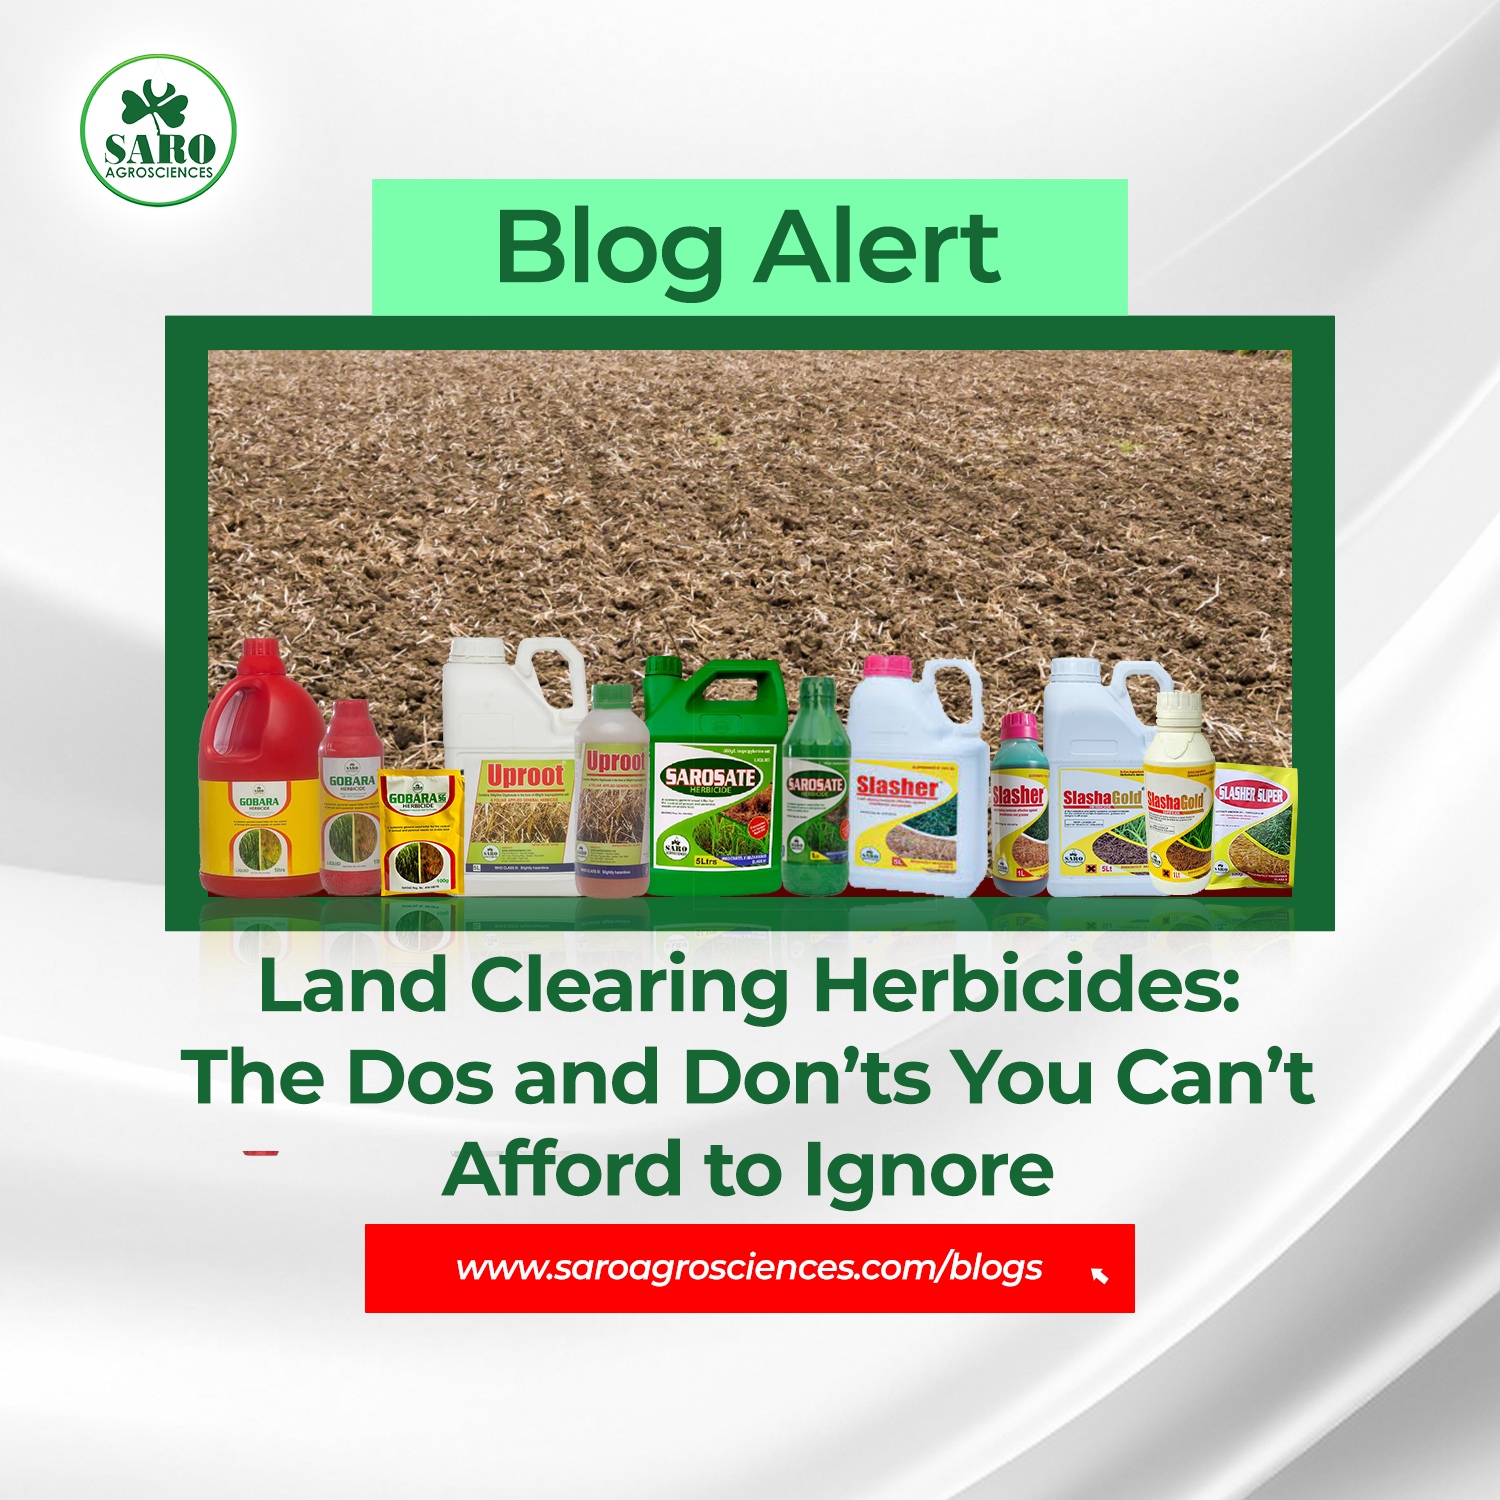
Our pre-emergence herbicides, for instance, target stubborn weeds before they even surface, while the post-emergence solutions clear unwanted growth without harming your crops. Insecticides like Sting, Kare, Hallakat, etc., keep your crops safe from pests that have devastated harvests in the past.
3. We help you farm smarter with the FarmPropa app
Saro Agrosciences is not only investing in agro-chemical solutions — we’re investing in tools to make your farming journey easier, more efficient, and more profitable.
The FarmPropa App has been built as a comprehensive digital companion for farmers. It combines access to agronomic tips, weather forecasts, planting guides, pest alerts, input recommendations, and product usage calculators all in one place.
The goal is simple: to help you plan better, act faster, and harvest more. Whether you’re a new farmer or a seasoned grower, the app is tailored to your real needs.
4. We treat every farmer like a friend, not a transaction
At Saro Agrosciences, we see farming as a shared mission, and farmers as the heartbeat of that mission. That’s why our relationship doesn’t end after you buy a product or solution. We stay close, offering follow-up advice, listening to your feedback, and providing ongoing education.
Through our field days, activations, storms, demo farms, and grassroots outreach, we meet you where you are — in your own language, on your own terms. This is not by chance; it’s a deliberate effort to ensure every farmer feels heard, valued, and supported.
For us, your growth is our priority. When you succeed, we all succeed.
Why Should You Choose Saro Agrosciences?
Because we don’t just want to sell to you — we want to grow with you. Our products are trusted. Our service is dependable. Our knowledge is grounded in your reality. And our future is focused on empowering you to grow more confidently and sustainably.
Thousands of farmers already trust Saro Agrosciences as their friend. Maybe it’s time you did too.