Fungal diseases are among the biggest threats to crop production. They often begin with subtle symptoms, but if left unchecked, they can spread rapidly, reducing crop vigor, lowering yields, and affecting the quality of your harvest.
Knowing what to look for and acting early can make all the difference.
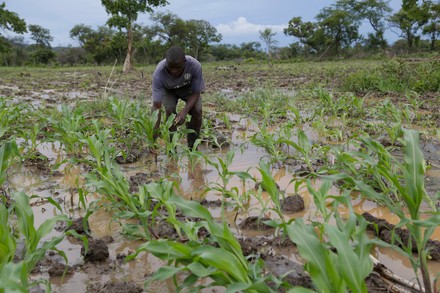
Root Rot
Root rot is a fungal disease that attacks a plant’s root system, making it difficult for the crop to absorb water and nutrients.
How to spot it
- Yellowing leaves
- Wilting even when the soil is moist
- Stunted growth
- Brown or black, decaying roots
- Plants that die prematurely
Crops commonly affected
Maize, soybeans and other legumes, tomatoes, potatoes, and many vegetables.
How to reduce the risk
Plant in well-drained soils, avoid overwatering, practice crop rotation, and use healthy planting materials. Since root rot develops beneath the soil, regular field inspection is essential for early detection.
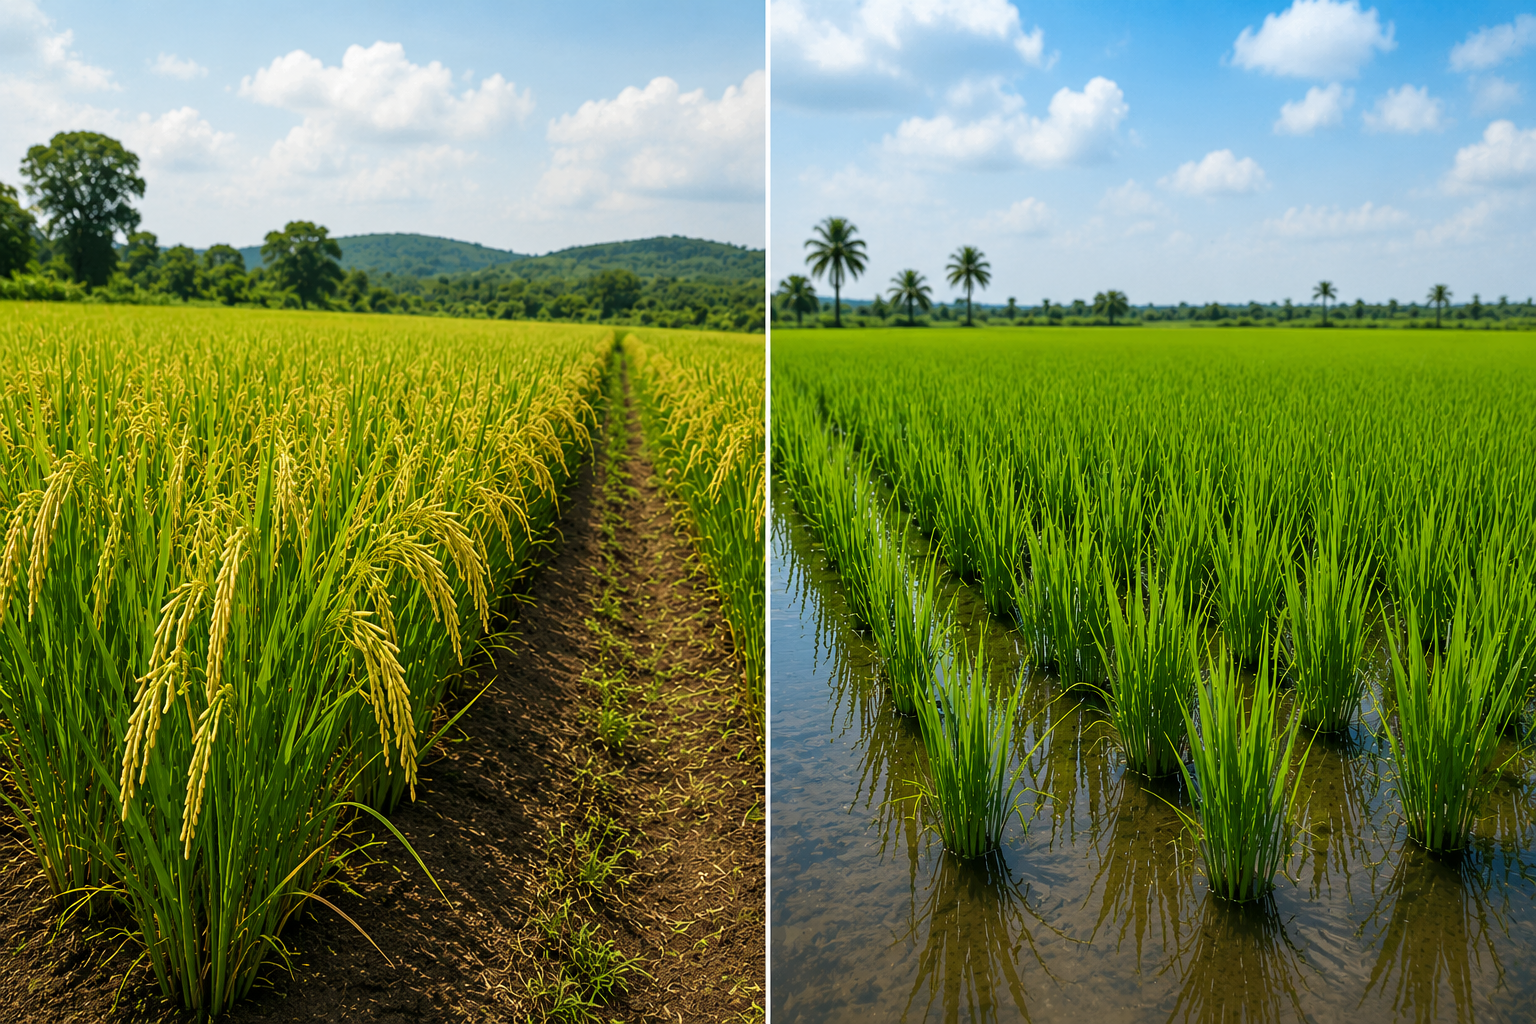
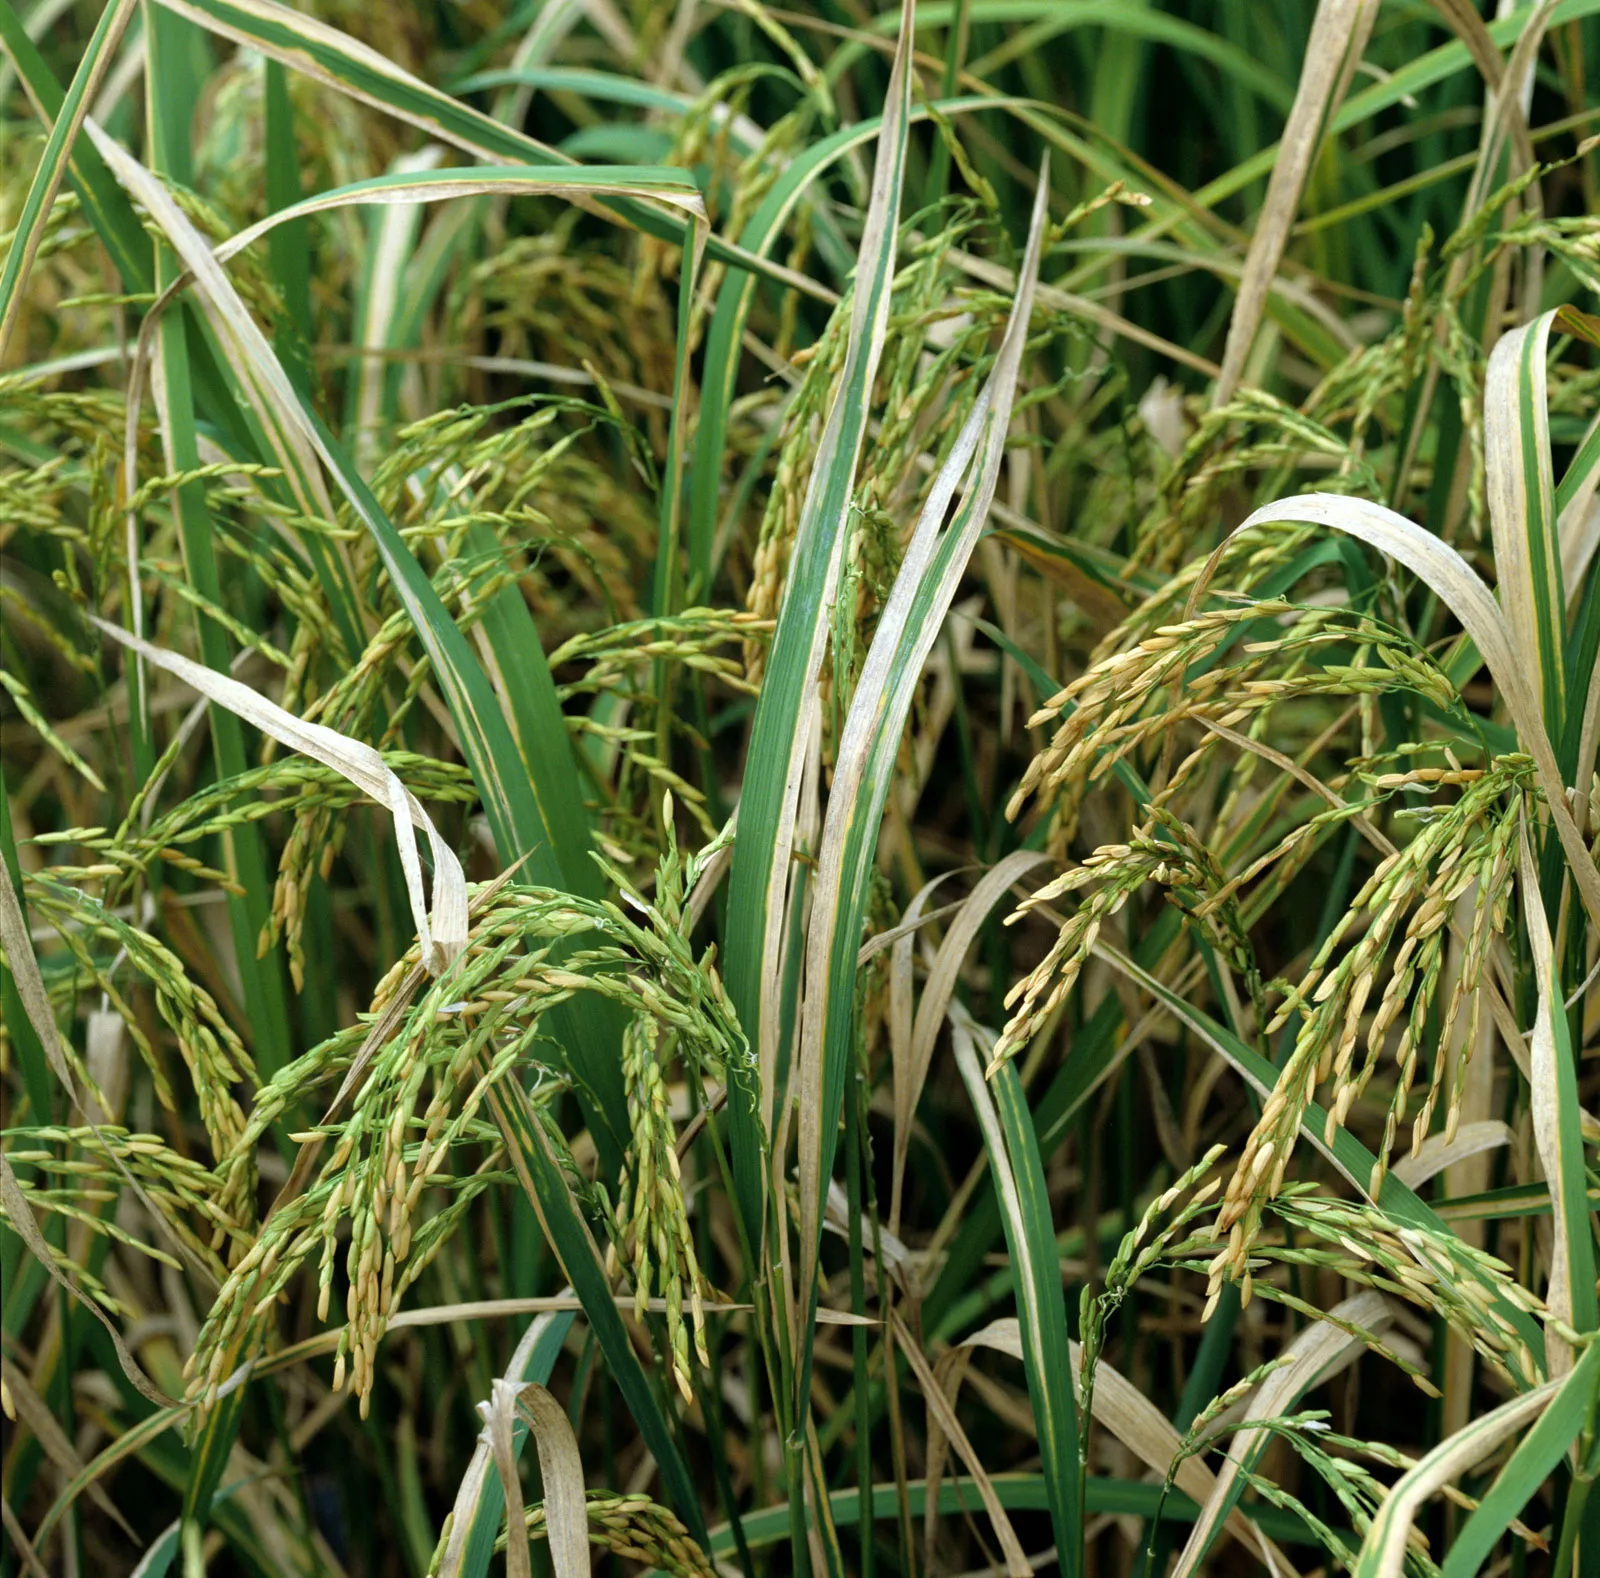
Blast Disease
Blast disease is one of the most destructive fungal diseases affecting rice. Under warm and humid conditions, it can spread quickly across the field.
How to spot it
- Diamond-shaped spots on leaves with grey or whitish centers
- Brown lesions on leaves
- Drying leaves
- Poor grain filling due to infected panicles
Crops commonly affected
Rice (primarily) and other cereal crops.
How to protect your crop
Early intervention is key. At the first signs of blast or preferably before disease pressure becomes severe, apply a recommended systemic fungicide such as Blue Snow, which provides preventive and curative control of a wide range of fungal diseases in rice, helping farmers protect their fields before significant damage occurs.
Leaf Blight
Leaf blight attacks the leaves of crops, reducing their ability to produce food through photosynthesis. If ignored, it can weaken the entire plant and reduce yield.
How to spot it
- Brown or yellow lesions on leaves
- Drying leaf tips
- Large dead patches on leaves
- Premature leaf death
Crops commonly affected
Maize, rice, tomatoes, potatoes, and other vegetables.
How to protect your crop
Maintain proper plant spacing, remove infected crop residues, and monitor your field regularly. Where fungal leaf diseases are present or expected, timely application of a broad-spectrum fungicide like Blue Snow can help limit disease spread and keep leaves healthy for longer. For best results, apply before fungal attack or at the onset of infestation, following the recommended label directions.
Early Action Saves Your Harvest
The longer fungal diseases remain unnoticed, the harder they become to manage. Make it a habit to inspect your fields regularly, especially during periods of high humidity or frequent rainfall.
Good agronomic practices, combined with timely crop protection, can significantly reduce losses and improve harvest quality. Healthy crops don’t happen by chance; they’re protected through early detection, informed decisions, and the right solutions at the right time.
Want more guidance tailored to your farm? Download FarmPropa (available on Android and iOS) for Good Agronomic Practices for rice and product recommendations to help you make better decisions throughout the season.