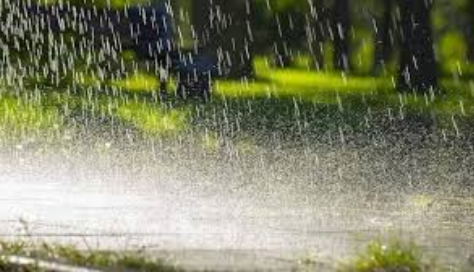
Weeds grow rapidly, fungal diseases thrive in wet conditions, and certain insect pests become more active. By the time the signs are visible, crop damage and yield losses may have already occurred.
The key to a successful harvest is timely crop protection. Taking the right action at the right stage can make all the difference.
This checklist guides you through each stage of crop growth, from seedling to harvest, helping you stay ahead of threats and protect your yield throughout the season.
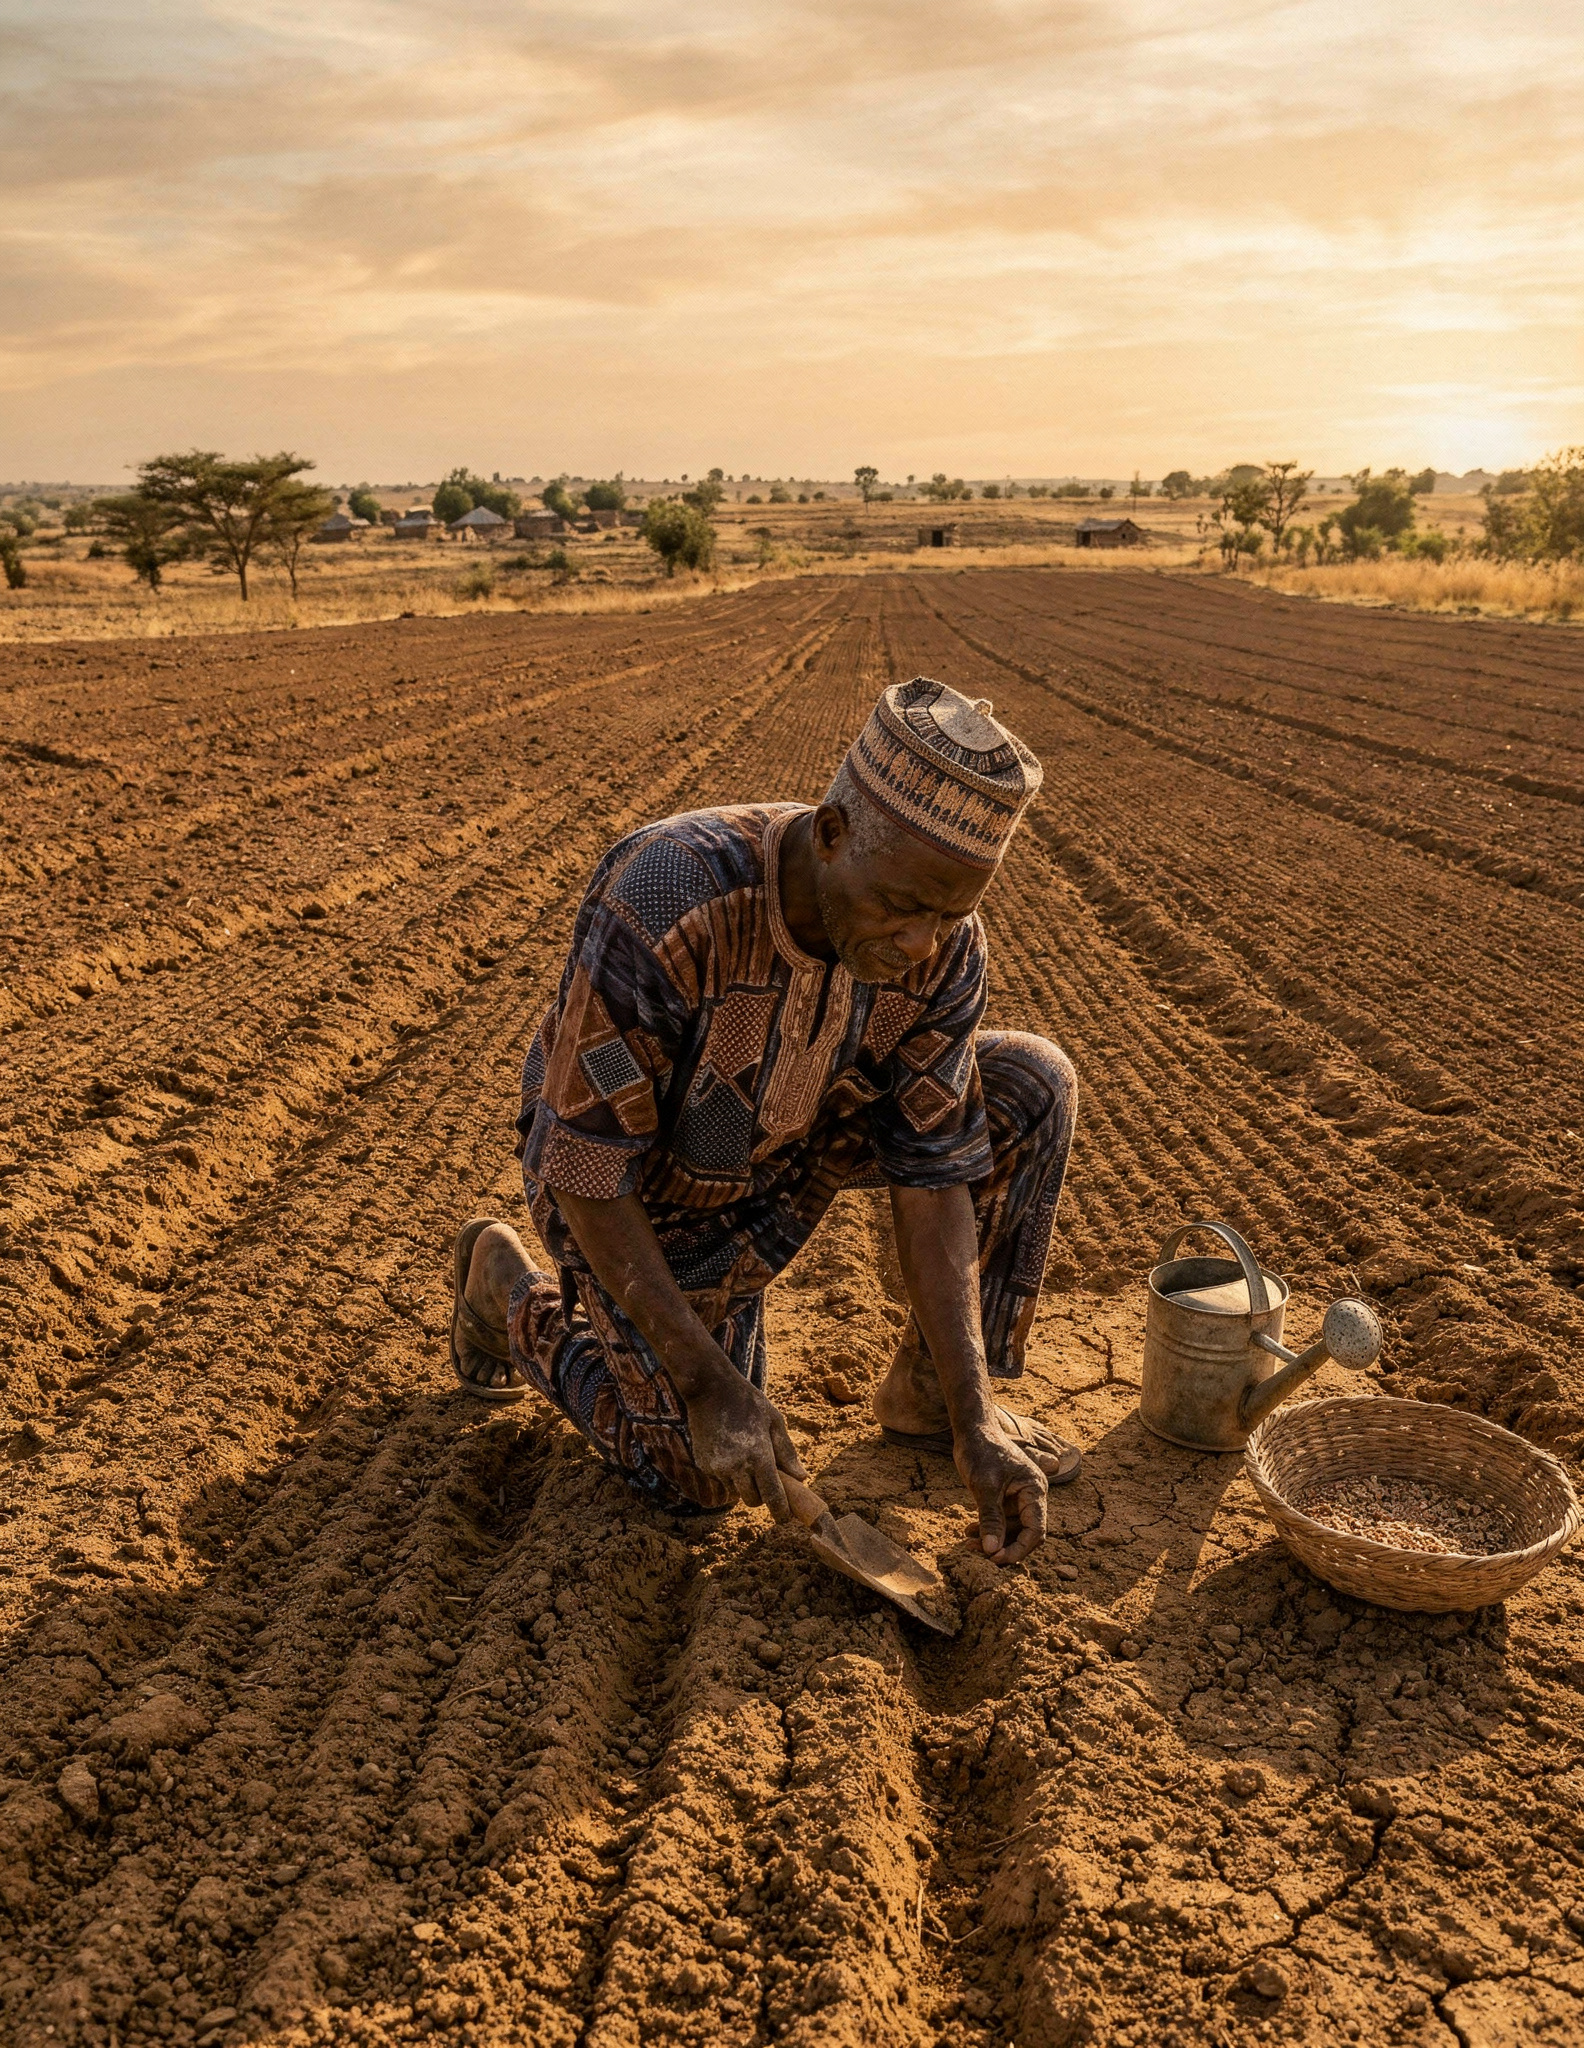
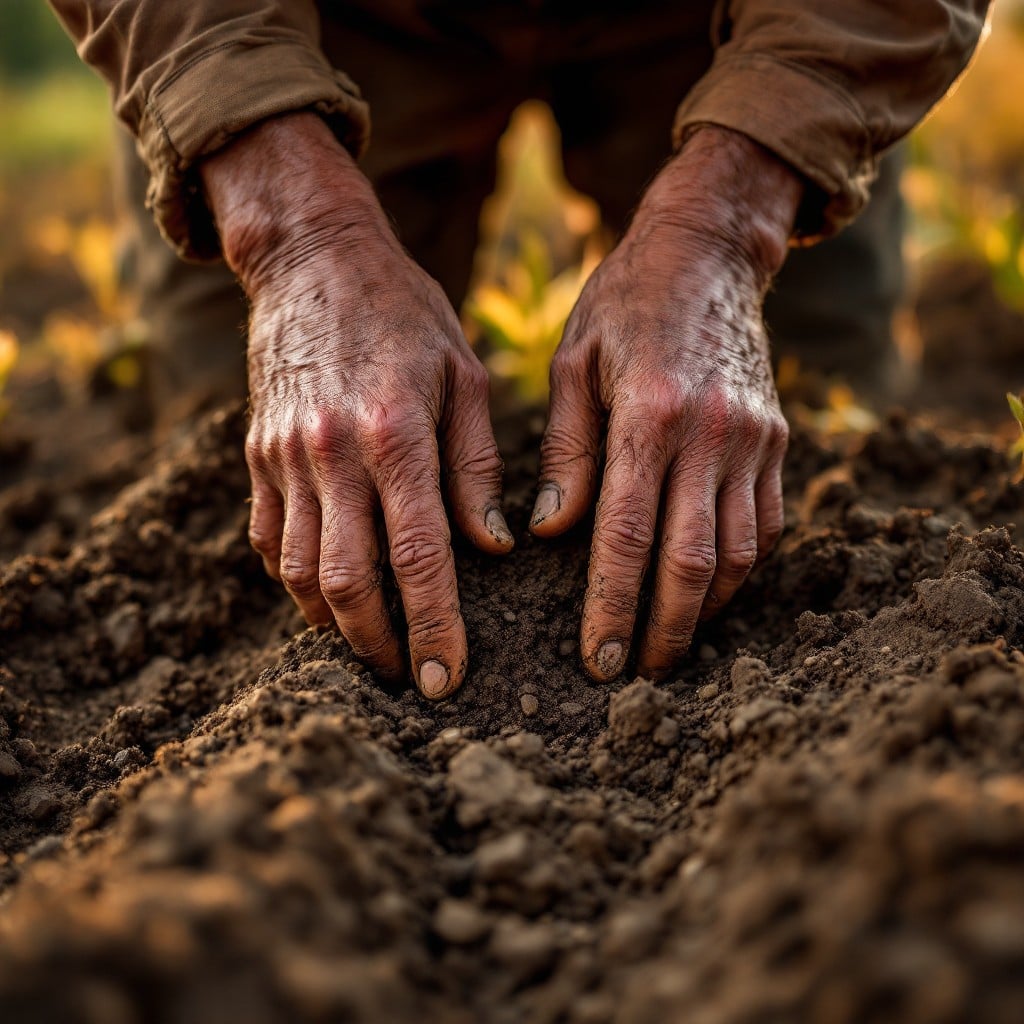
✅ Stage 1: Land Preparation & Pre-Planting
Before your seed goes into the ground, your land should already be working for you.
– Clear all existing weeds thoroughly. Rainy season weeds are aggressive, don’t give them a head start.
– Check your soil drainage. Waterlogged soil invites fungal infections from the roots up.
– Inspect your seeds. Diseased or weak seeds carry problems into the season before it even begins.
– Apply a pre-emergence herbicide within 24 hours of planting, before weeds break the soil surface.
Key reminder: Pre-emergence herbicides work on a time window. Miss it and you loose the advantage entirely.
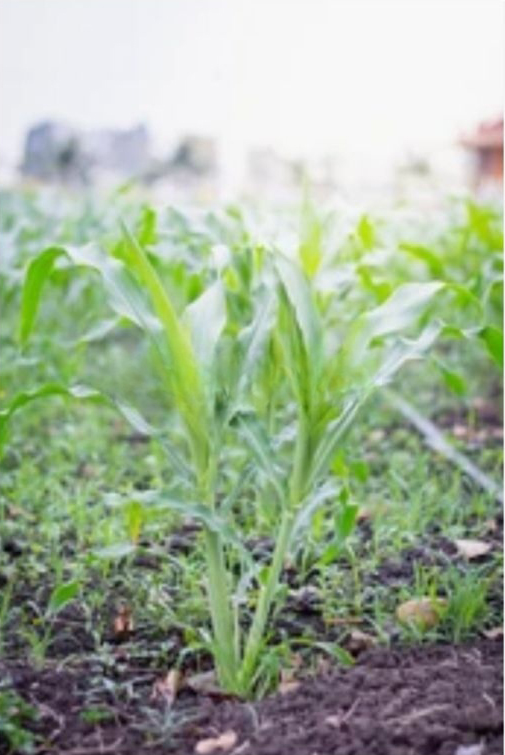
✅ Stage 2: 1–3 Weeks After Planting
This is when your crop is most vulnerable. Small stress at this stage means big losses later.
– Monitor for early weed emergence. If pre-emergence coverage was missed or incomplete, apply a post-emergence herbicide carefully and early.
– Watch for damping-off, a fungal condition that kills seedlings at soil level. It moves fast in wet conditions.
– Check for cutworms and other soil insects that attack young roots overnight.
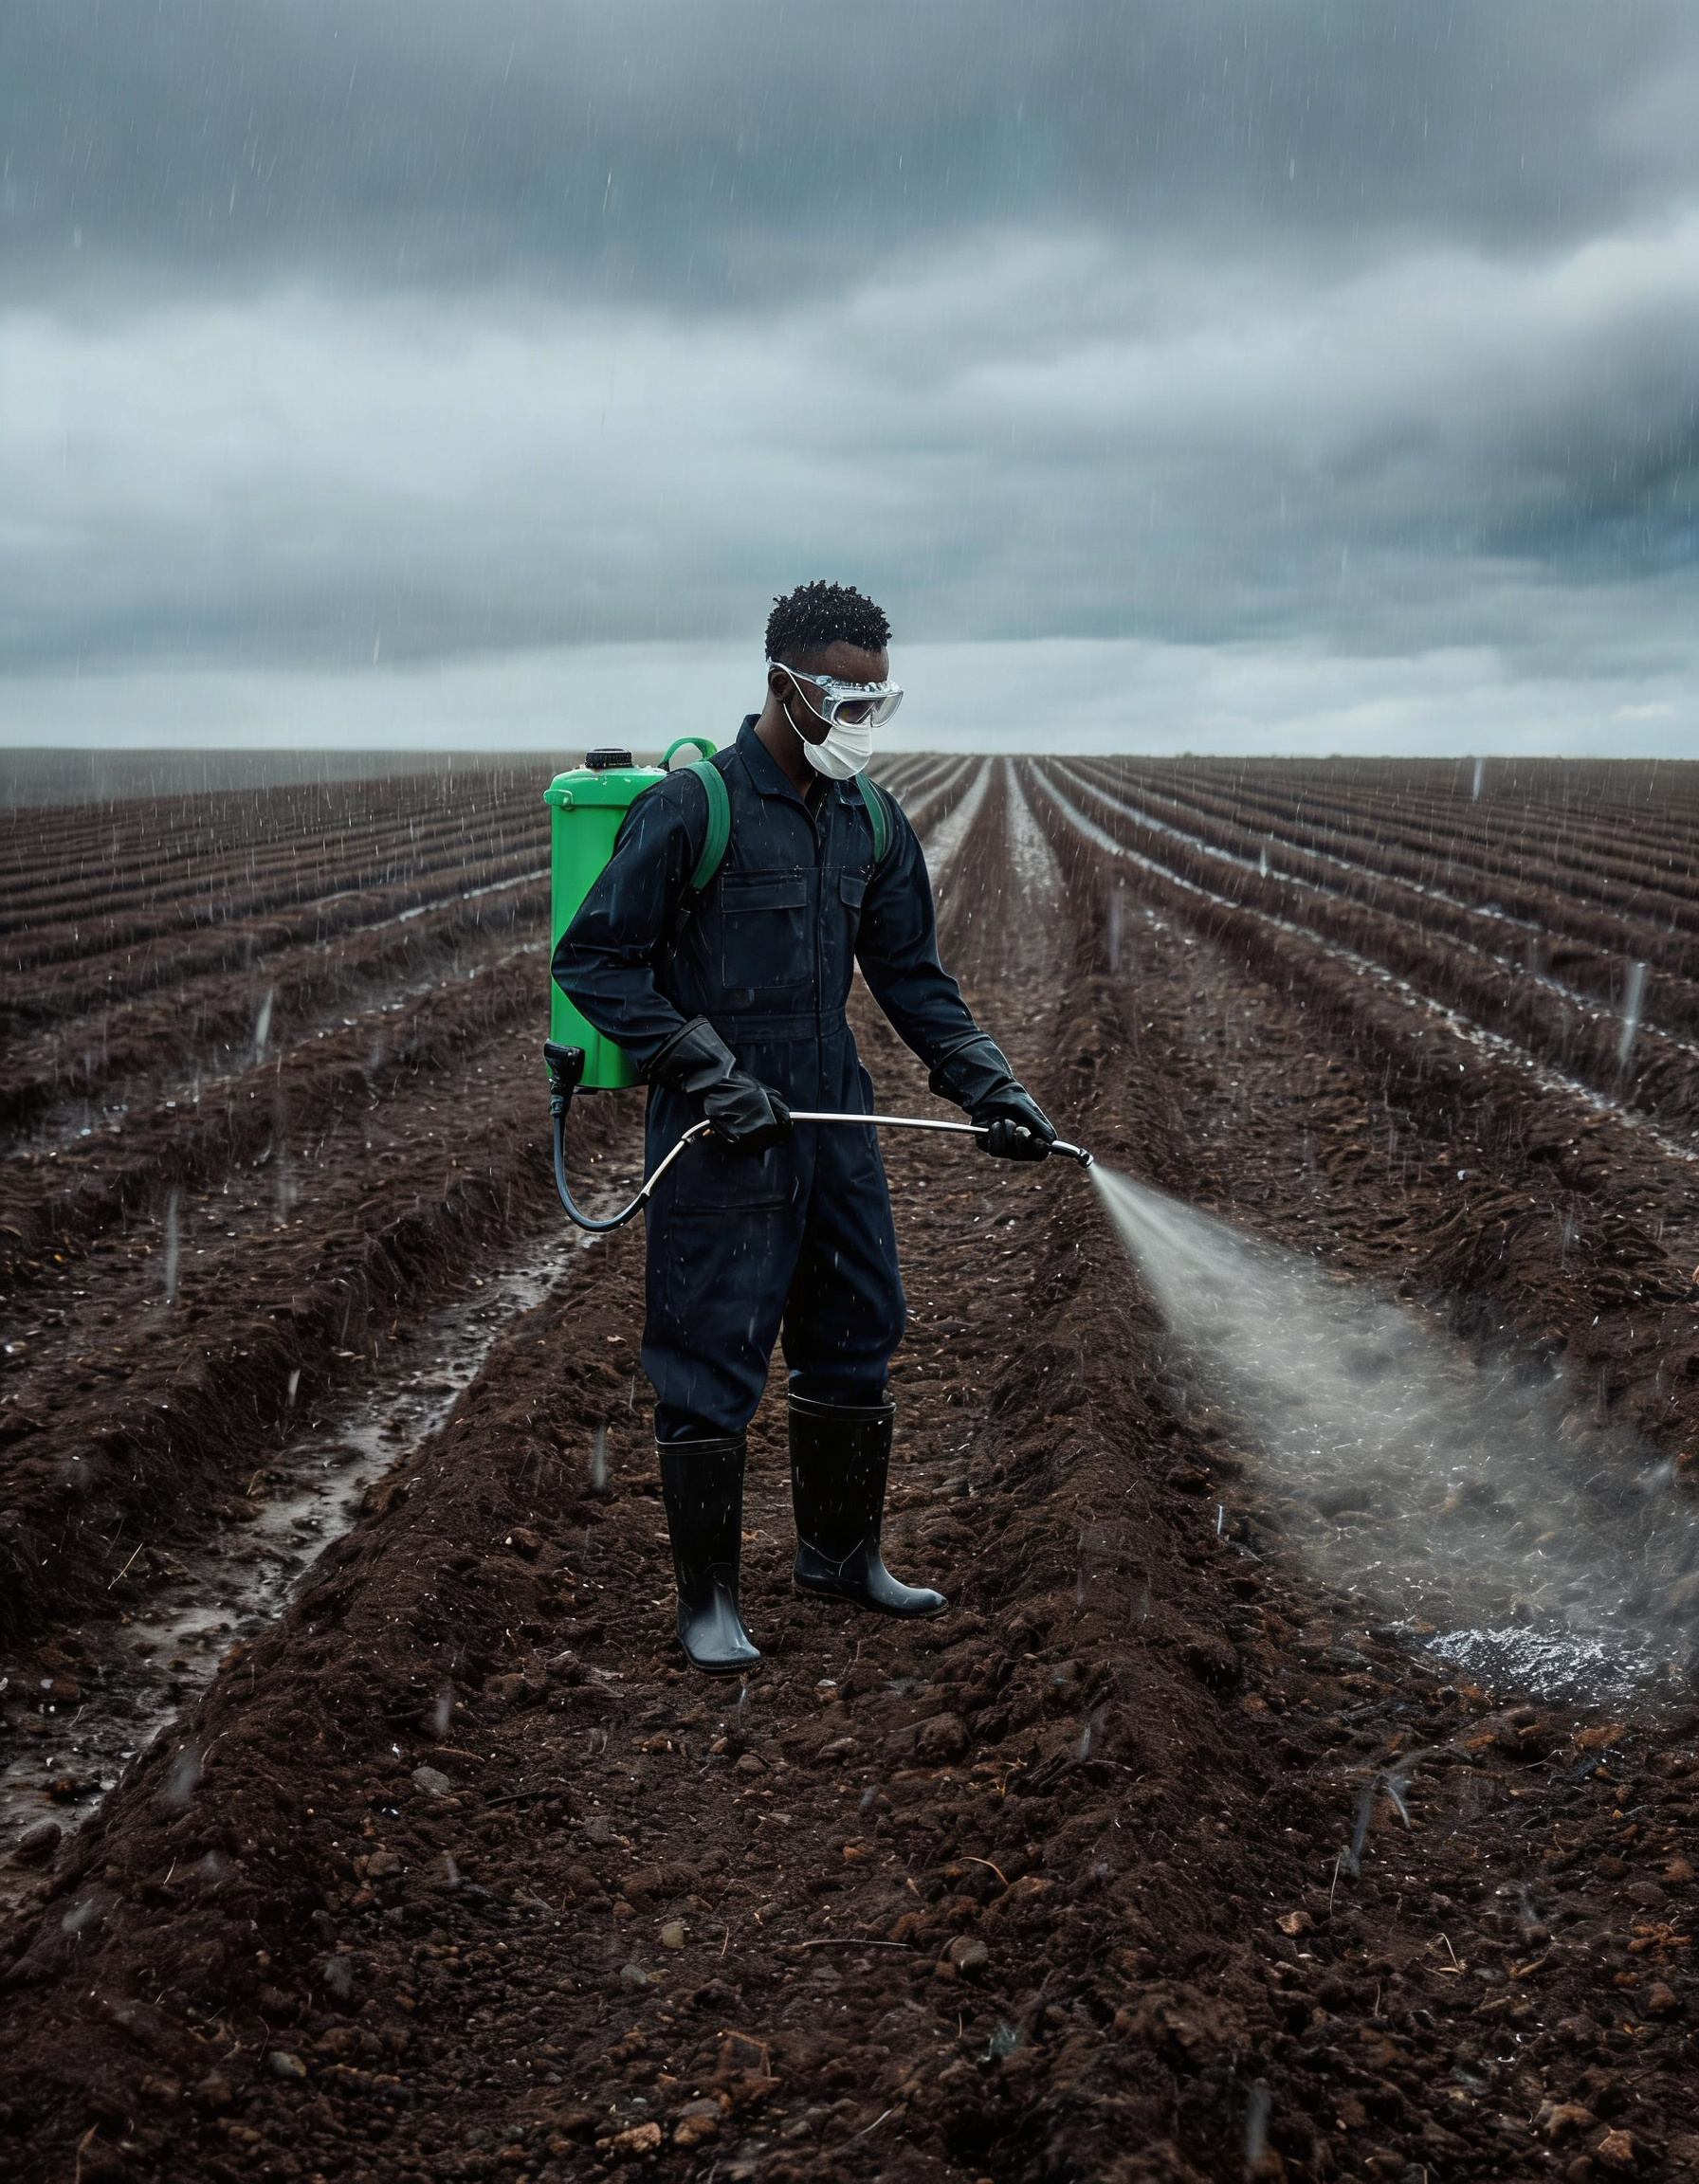
– Avoid spraying during heavy rainfall. Give applications at least 4–6 hours of dry weather to absorb properly.
✅ Stage 3: Vegetative Growth (3–8 Weeks)
Your crop is growing so are your problems if you’re not watching.
– Weeds at this stage compete directly for nutrients and light. Remove or treat immediately.
– Begin fungicide applications. if rainfall has been heavy and consistent. Don’t wait for symptoms.
– Scout for aphids, stem borers, and leaf-eating insects. Early infestation is far cheaper to treat than a full outbreak.
– Check leaf colour and texture yellowing, spots, or curling are early disease signals.
✅ Stage 4: Flowering & Podding
This is your most critical window. What happens here determines your yield.
– Do not spray indiscriminately during flowering. Some chemicals affect pollination. Know what you’re applying.
– Maintain fungicide cover, humid conditions during this stage create ideal conditions for blight and mould.
– Control insects aggressively. Pod borers and thrips at flowering stage can devastate your final count.
– Keep the field free of standing water around the base of plants.
✅ Stage 5: Maturation & Pre-Harvest
You’re almost there. Don’t lose it in the final stretch.
– Observe pre-harvest intervals (PHI) on all chemicals. Spraying too close to harvest affects safety and quality.
– Control late-season weeds that compete for the last nutrients before harvest.
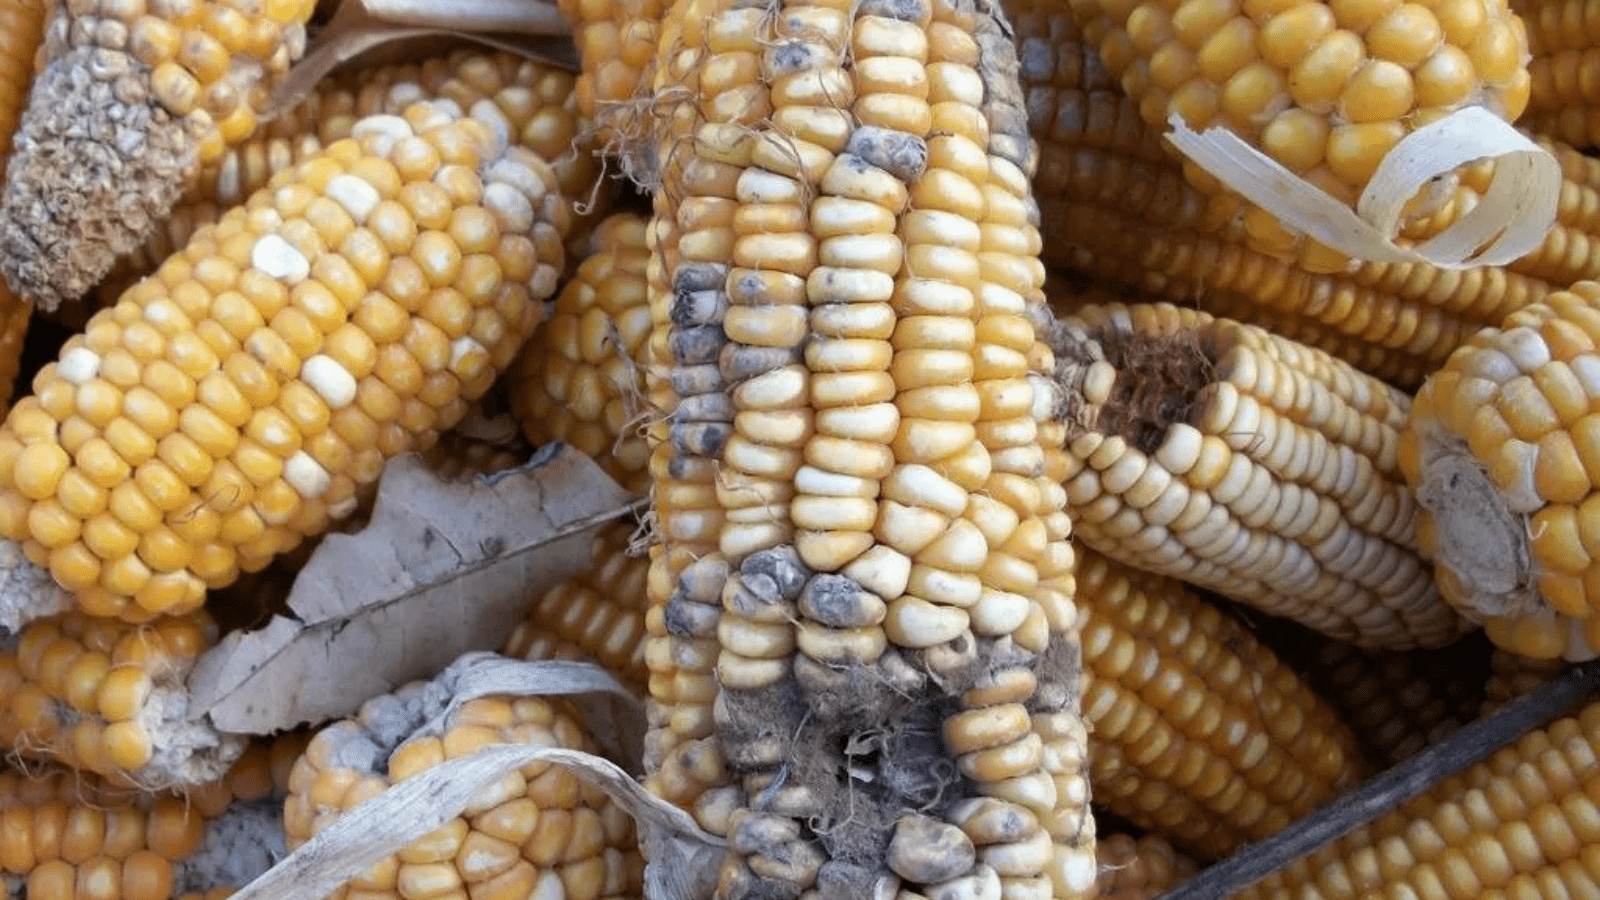
– Watch for storage mould beginning on the plant — especially in maize and grains.
– Plan your harvest around dry weather where possible to reduce post-harvest fungal risk.
Conclusion
Crop protection isn’t one action. It’s a season-long commitment.
Every stage has its challenge. Every threat has a window. Miss the window and you’re managing damage instead of preventing it.
Farm with a plan. Protect every stage.
Saro Agrosciences has the right solution for each stage of the rainy season. Visit your nearest agrodealer or download the FarmPropa app on Android and iOS